How Do You Burn a Candle Properly? Candle Care Tips to Prevent Tunneling
- Candle Safety
- DIY
Candle Care & Safety
With proper care, your Milk Jar candle will provide 40 to 45 hours of burn time.
Safety is always our top priority. Never leave a burning candle unattended. Always keep your candle within sight and away from walls, children, pets, and anything that could catch fire, such as curtains or paperwork.
For the best experience, burn your candle in a well-ventilated room while keeping it away from drafts. Drafts can cause uneven burning and reduce the life of your candle.
Why Proper Candle Care Matters
First and foremost, proper candle care is essential for safe use of a candle. Caring for your candle will also ensure your candle burns evenly, lasts longer, and releases fragrance more effectively. Simple habits like trimming the wick and allowing a full burn pool can significantly improve your candle’s performance and prevent common issues like tunneling.

Quick Candle Care Checklist
Before lighting your candle, keep these simple candle care tips in mind for the best burn:
✔ Burn your candle long enough to create a full burn pool (usually 2 hours) to help prevent tunneling.
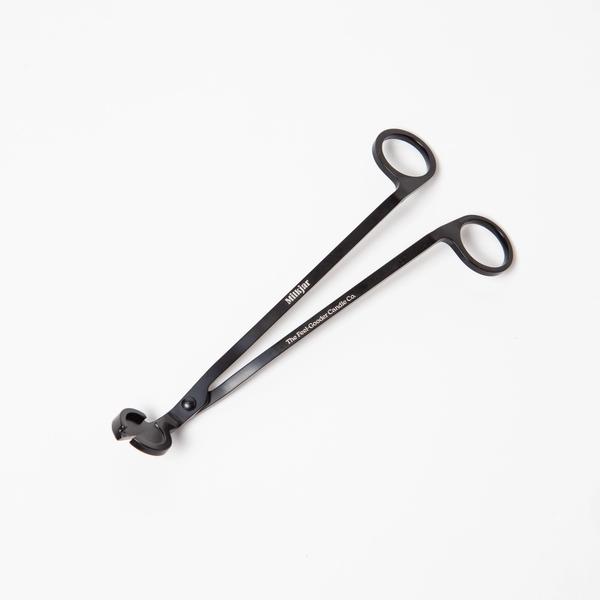
✔ Trim the wick using a wick trimmer or nail clipper to about 2 mm before each burn to maintain a steady flame and reduce soot.
✔ Limit burn sessions to maximum 4 hours when the candle is new, and 3 hours once it’s halfway burned.
✔ Let the candle cool completely before relighting to protect the wax and wick.
✔ Stop burning when ½ inch of wax remains and the metal wick clip becomes visible.
✔ Keep candles away from drafts, walls, pets, and anything flammable.
With just a little care, your candle will burn more evenly, last longer, and fill your space with a beautiful scent.
“Looking for more detailed candle care tips? Keep reading to learn how to prevent tunneling, trim wooden wicks properly, and get the longest burn time from your candle.”
How to Store Your Candle
Proper candle storage helps maintain both scent and performance.
Store your candle at room temperature in a dry location away from direct sunlight. Sunlight can cause fragrance oils, especially essential oils, to degrade over time.
If you still have the original box, storing your candle inside it offers extra protection from light and dust.
If your candle has been exposed to cold winter temperatures (for example, left in the car), allow it to sit at room temperature for at least 24 hours before lighting. This helps ensure a smooth, even burn.
For the best scent throw and performance, we recommend using your candle within one year of purchase.
How to Burn a Candle Properly
First Burn: Preventing Candle Tunneling
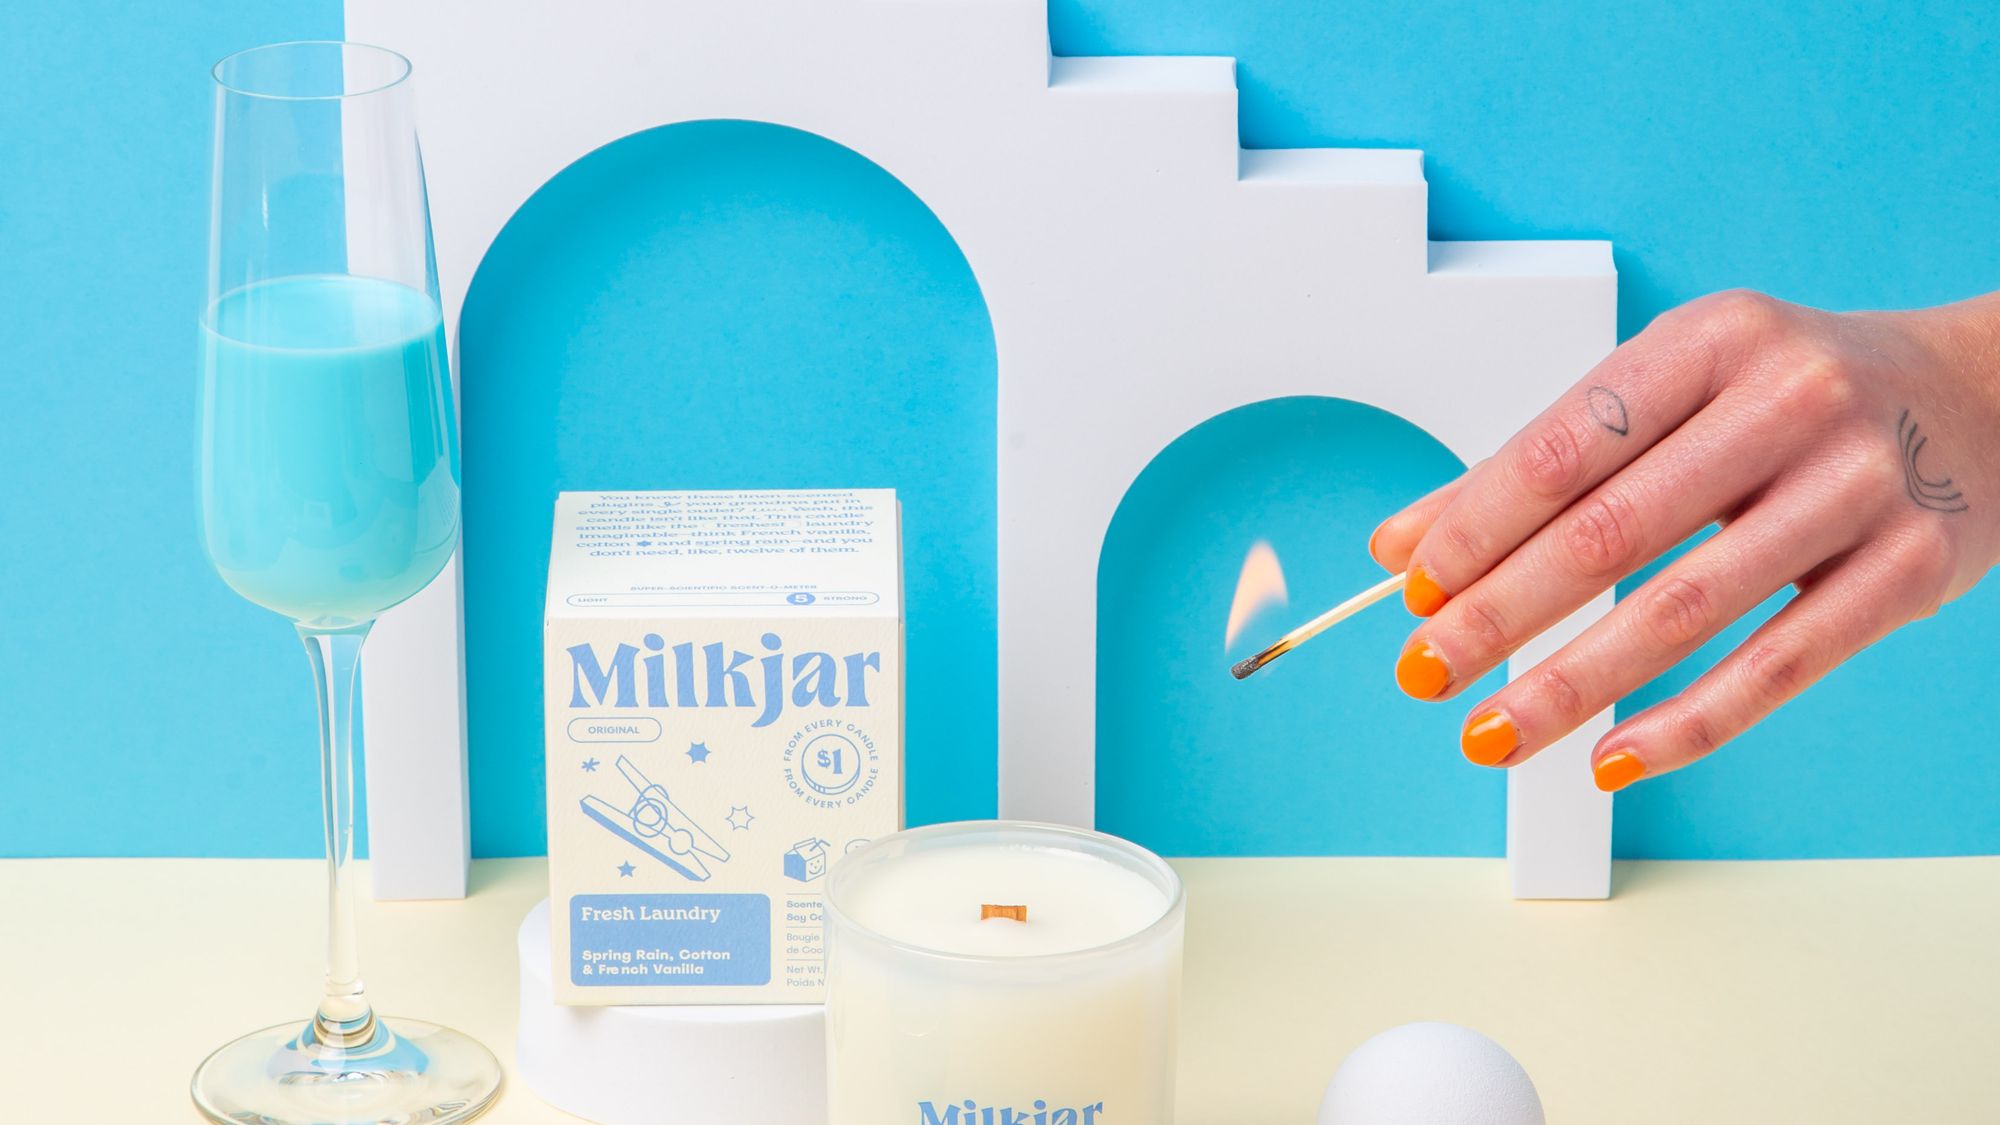
The first burn is the most important step in candle care.
Allow your candle to burn long enough for the melted wax to reach almost all the way to the edge of the glass. This melted wax layer is called the burn pool, and it usually takes 2–3 hours to form.
Creating a full burn pool during the first burn helps prevent candle tunneling, which happens when a candle burns straight down the middle and leaves unused wax along the sides of the jar.
If a small ring of wax remains around the outside (about ¼ inch or less, about the width of a grain of rice), don’t worry. Milk Jar candles are designed to self-correct after a few burns thanks to the way our vessels distribute heat.
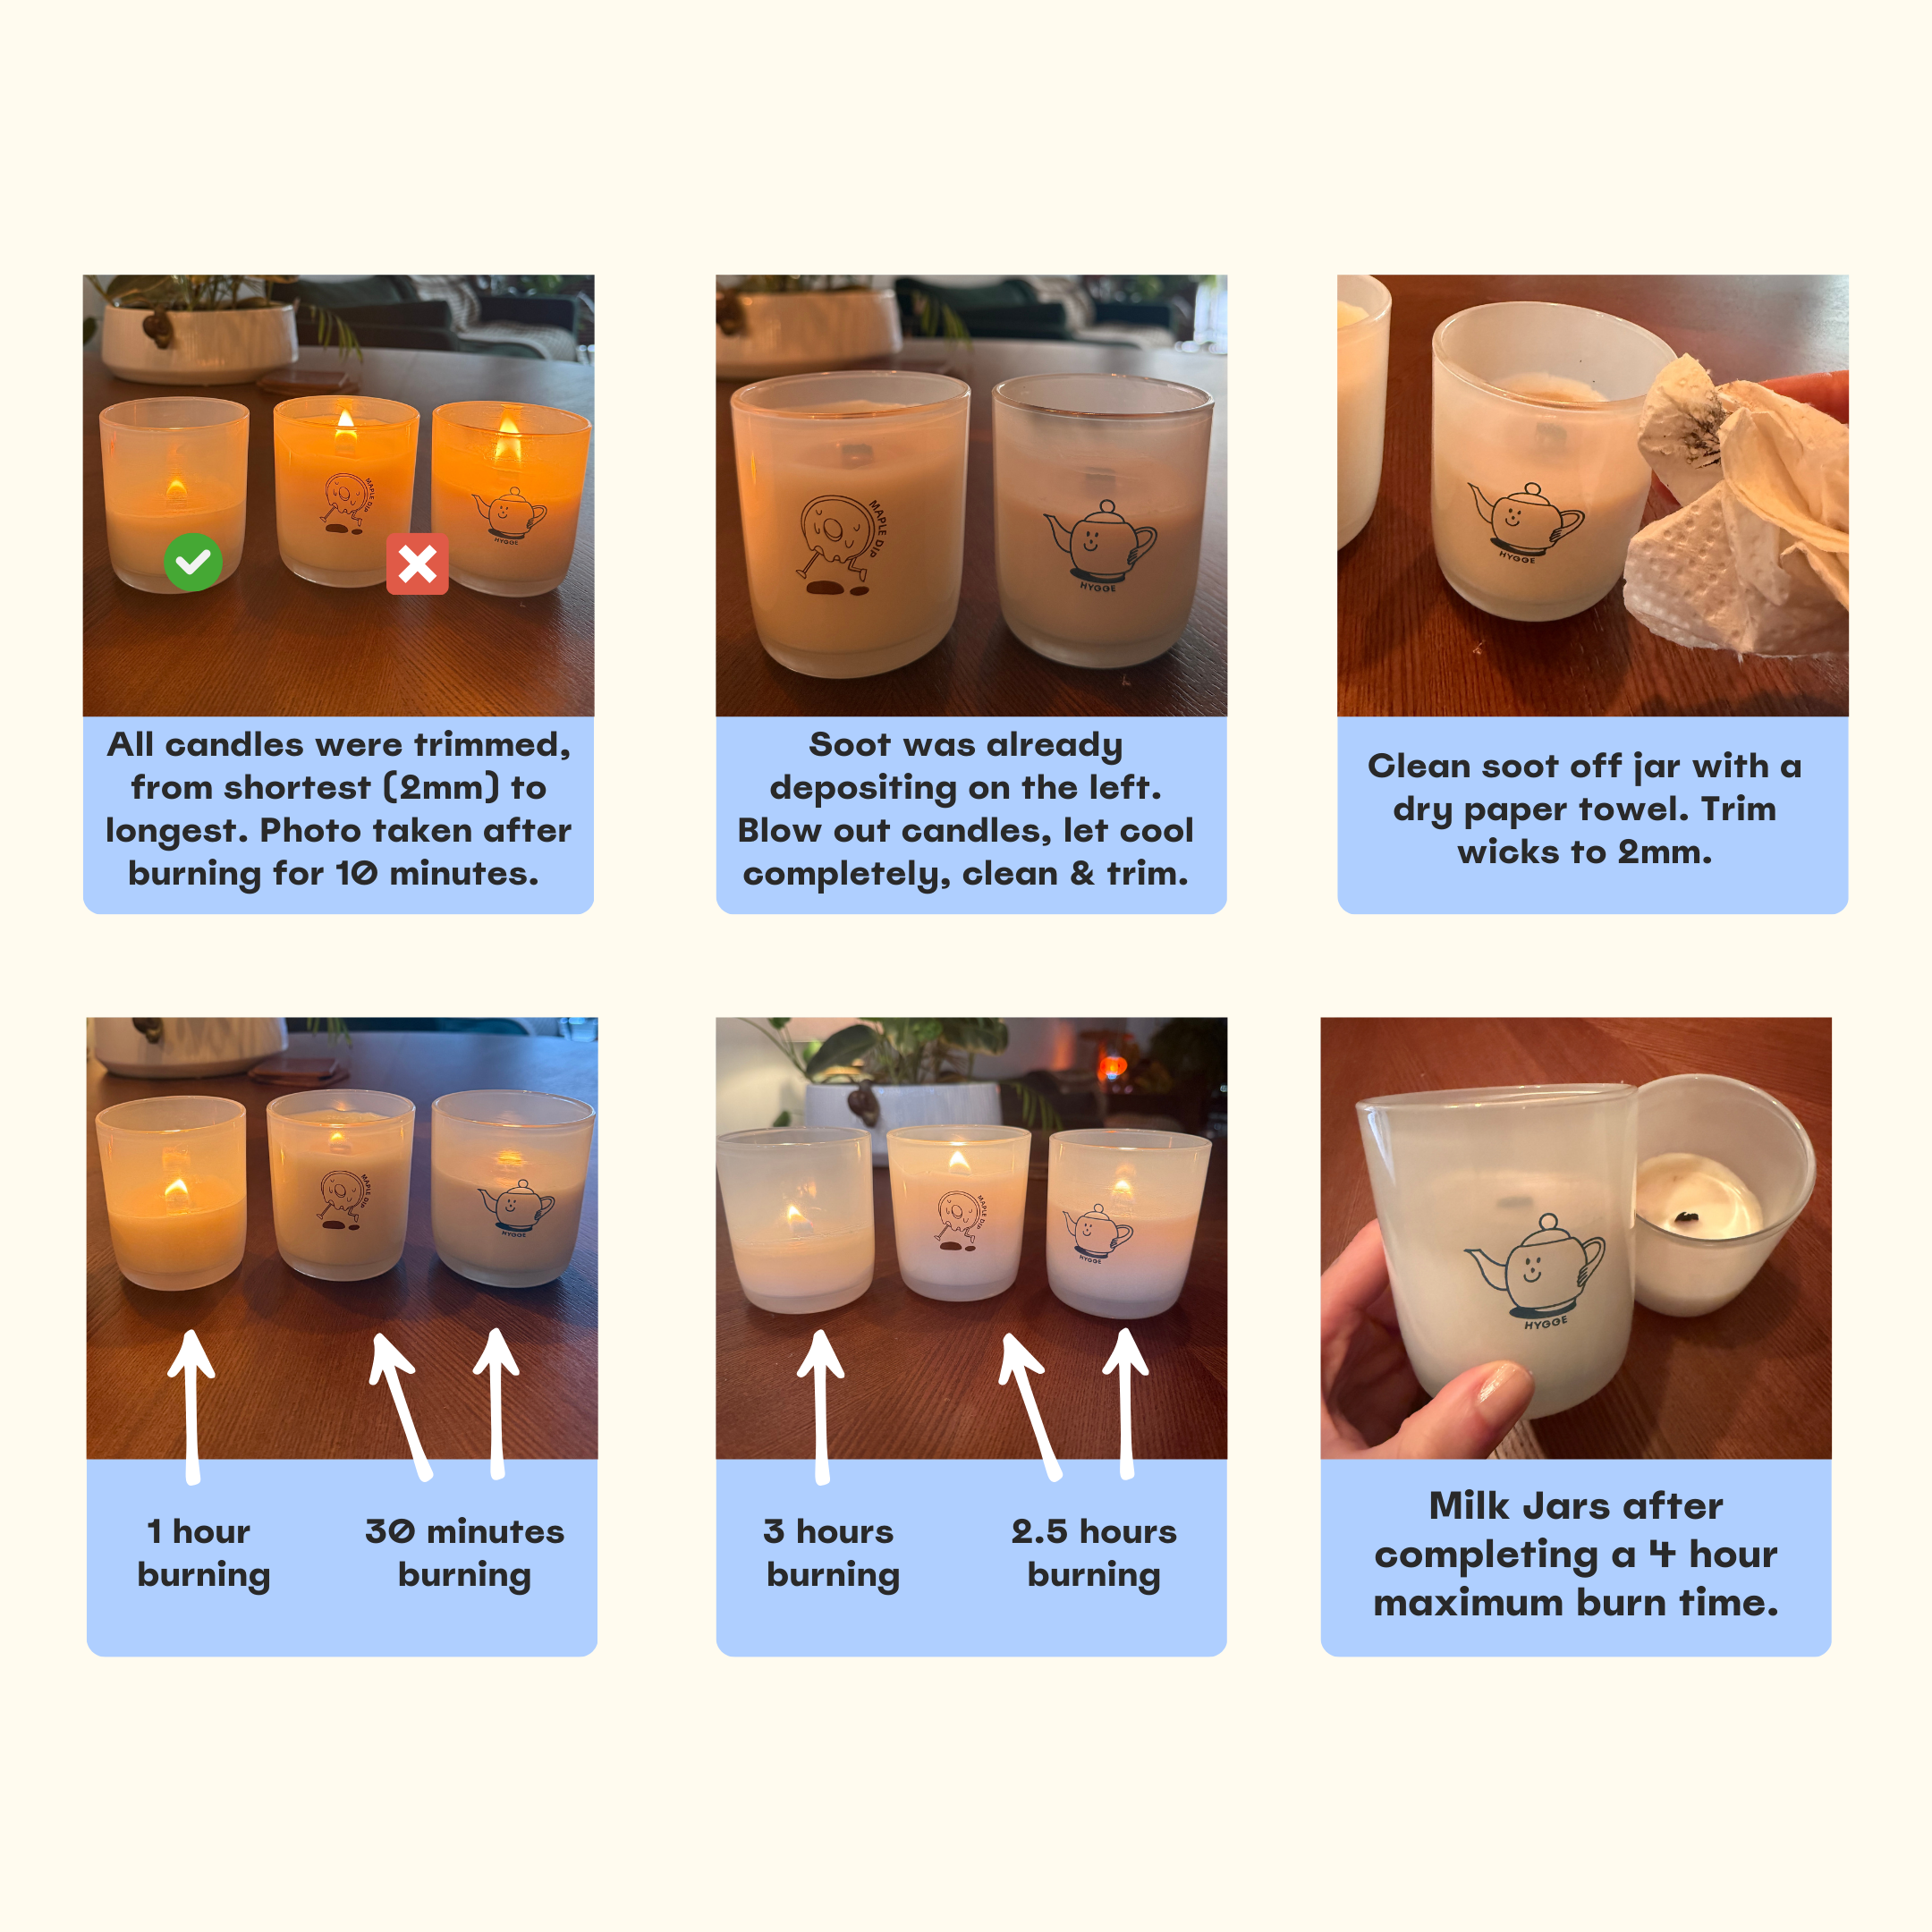
Maximum Candle Burn Time
When your candle is new, the maximum recommended burn time is 4 hours.
As the candle burns down, the glass jar begins to act as an insulator, reflecting more heat into the wax. Once your candle is halfway burned, reduce the maximum burn time to 3 hours.
After each burn, allow the candle to cool completely to room temperature before trimming the wick and lighting it again. This typically takes at least 2 hours.
When to Stop Burning Your Candle
When ½ inch of wax remains and the metal wick clip becomes visible, it’s time to stop burning your candle.
Continuing to burn the candle beyond this point may cause the container to overheat and potentially crack the glass.
Our wick clip is intentionally ½ inch tall, so when it appears at the wax surface, that’s your sign to retire the candle.
Wooden Wick Candle Care
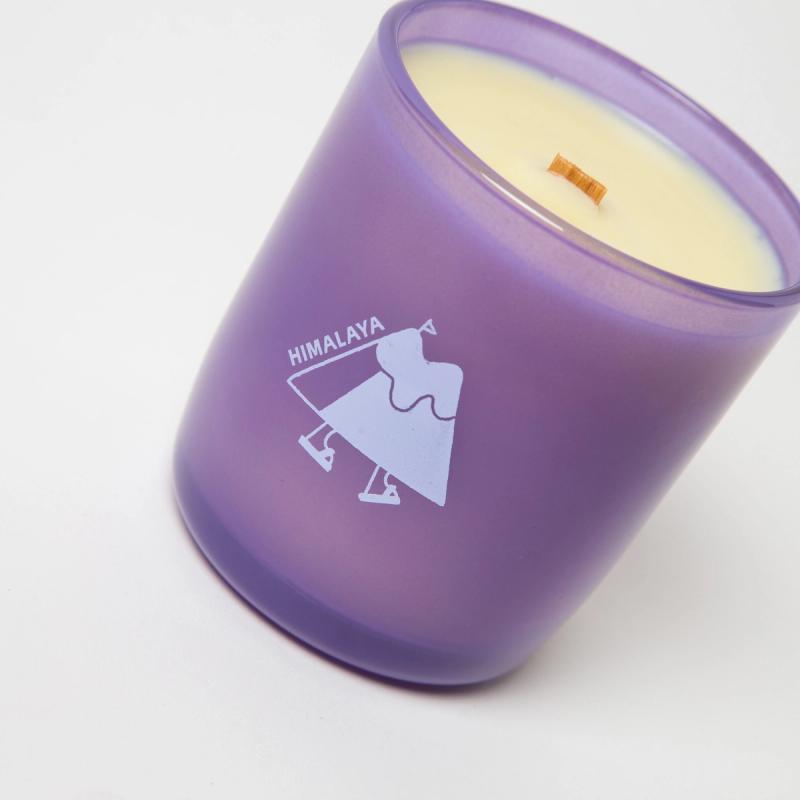
We love our wooden wicks at Milk Jar because they create a cozy ambiance with a gentle crackle.
When the candle burns, the natural moisture in the wood heats up and releases tiny pockets of steam. These pockets create the dancing flame and a satisfying crackling sound.
They also stand upright naturally, unlike cotton wicks that sometimes require traces of metal to maintain their shape which are released into the air when burning.
Wooden wicks are environmentally friendly and help disperse fragrance quicker, creating a warm atmosphere filled with scent and soft crackling.
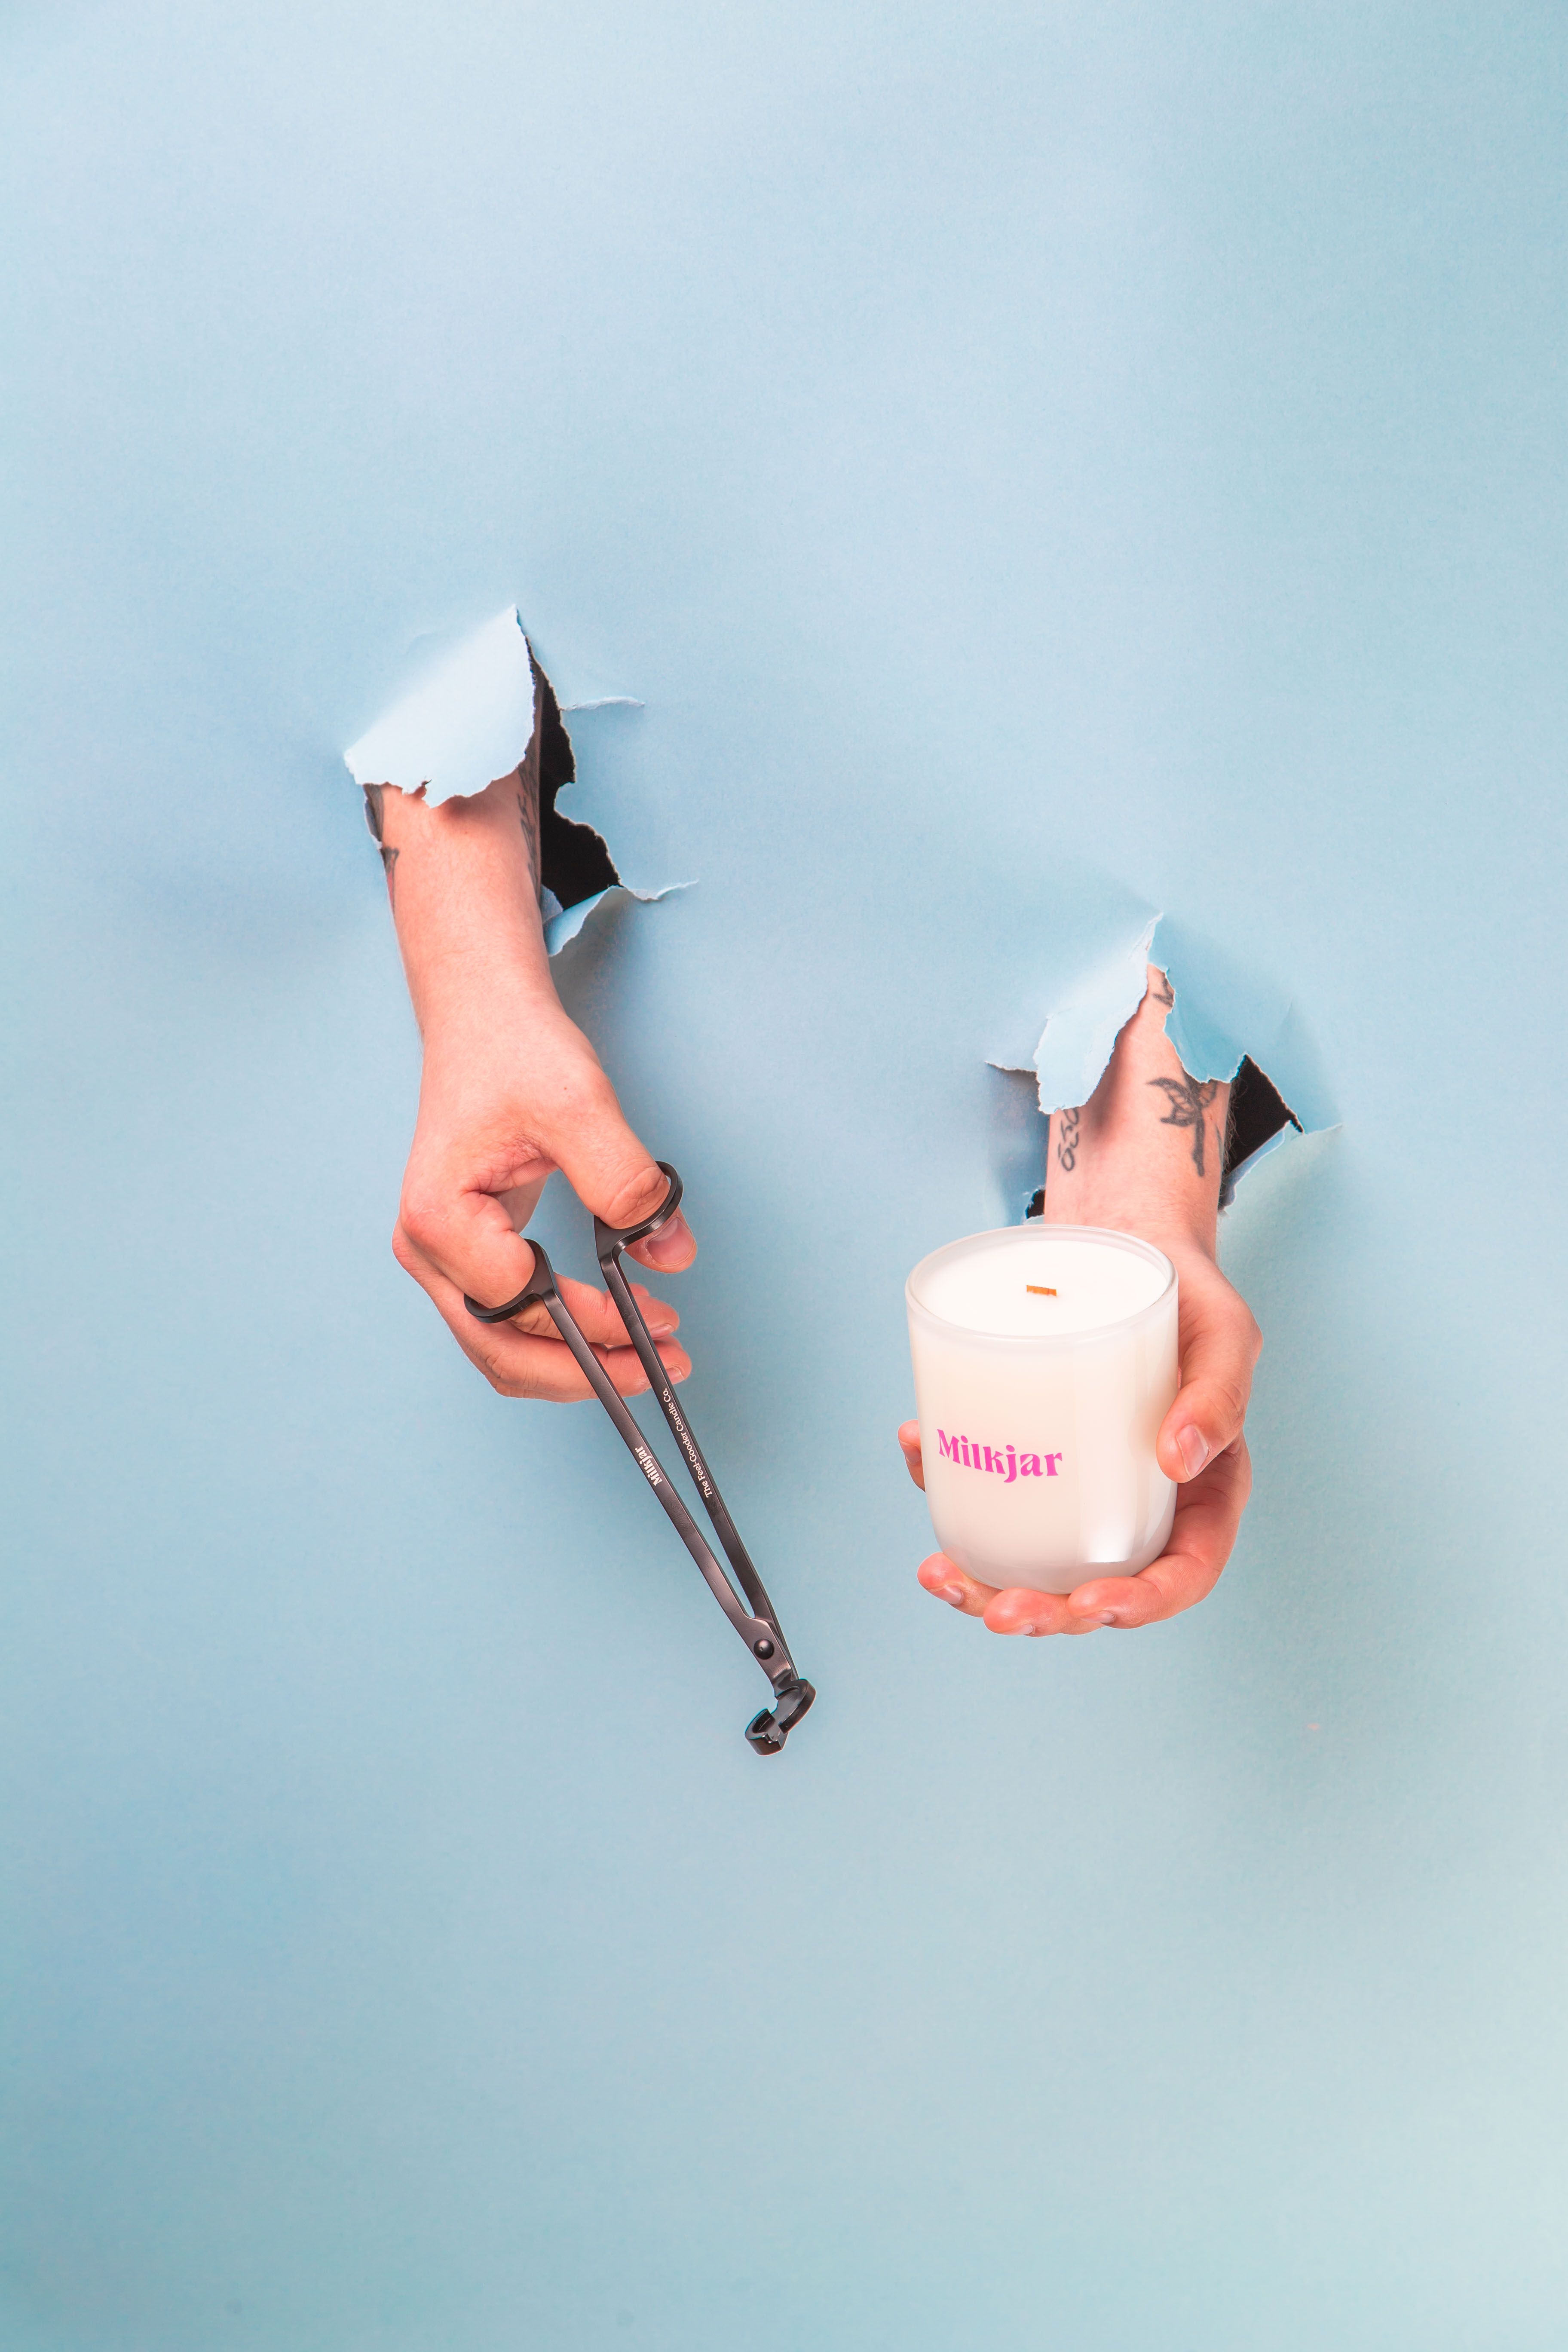
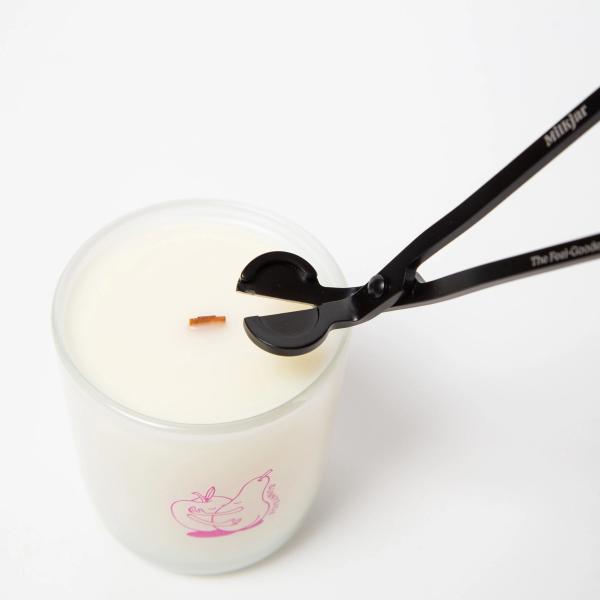
Wick Trimming Tips
For the first burn, your candle is already trimmed at the factory and ready to light.
Before every burn after the first, trim the wick so it is about 2 mm above the wax. Nail clippers or wick trimmers work well for this. If you don’t have wick trimmers yet, check out our shop for a pair of Milk Jar wick trimmers (https://milkjar.ca/products/milk-jar-wick-trimmer)!
To visualize 2 mm, it’s about:
- the thickness of a nickel, or
- three stacked credit cards
Keeping your wick trimmed ensures a clean, even burn.
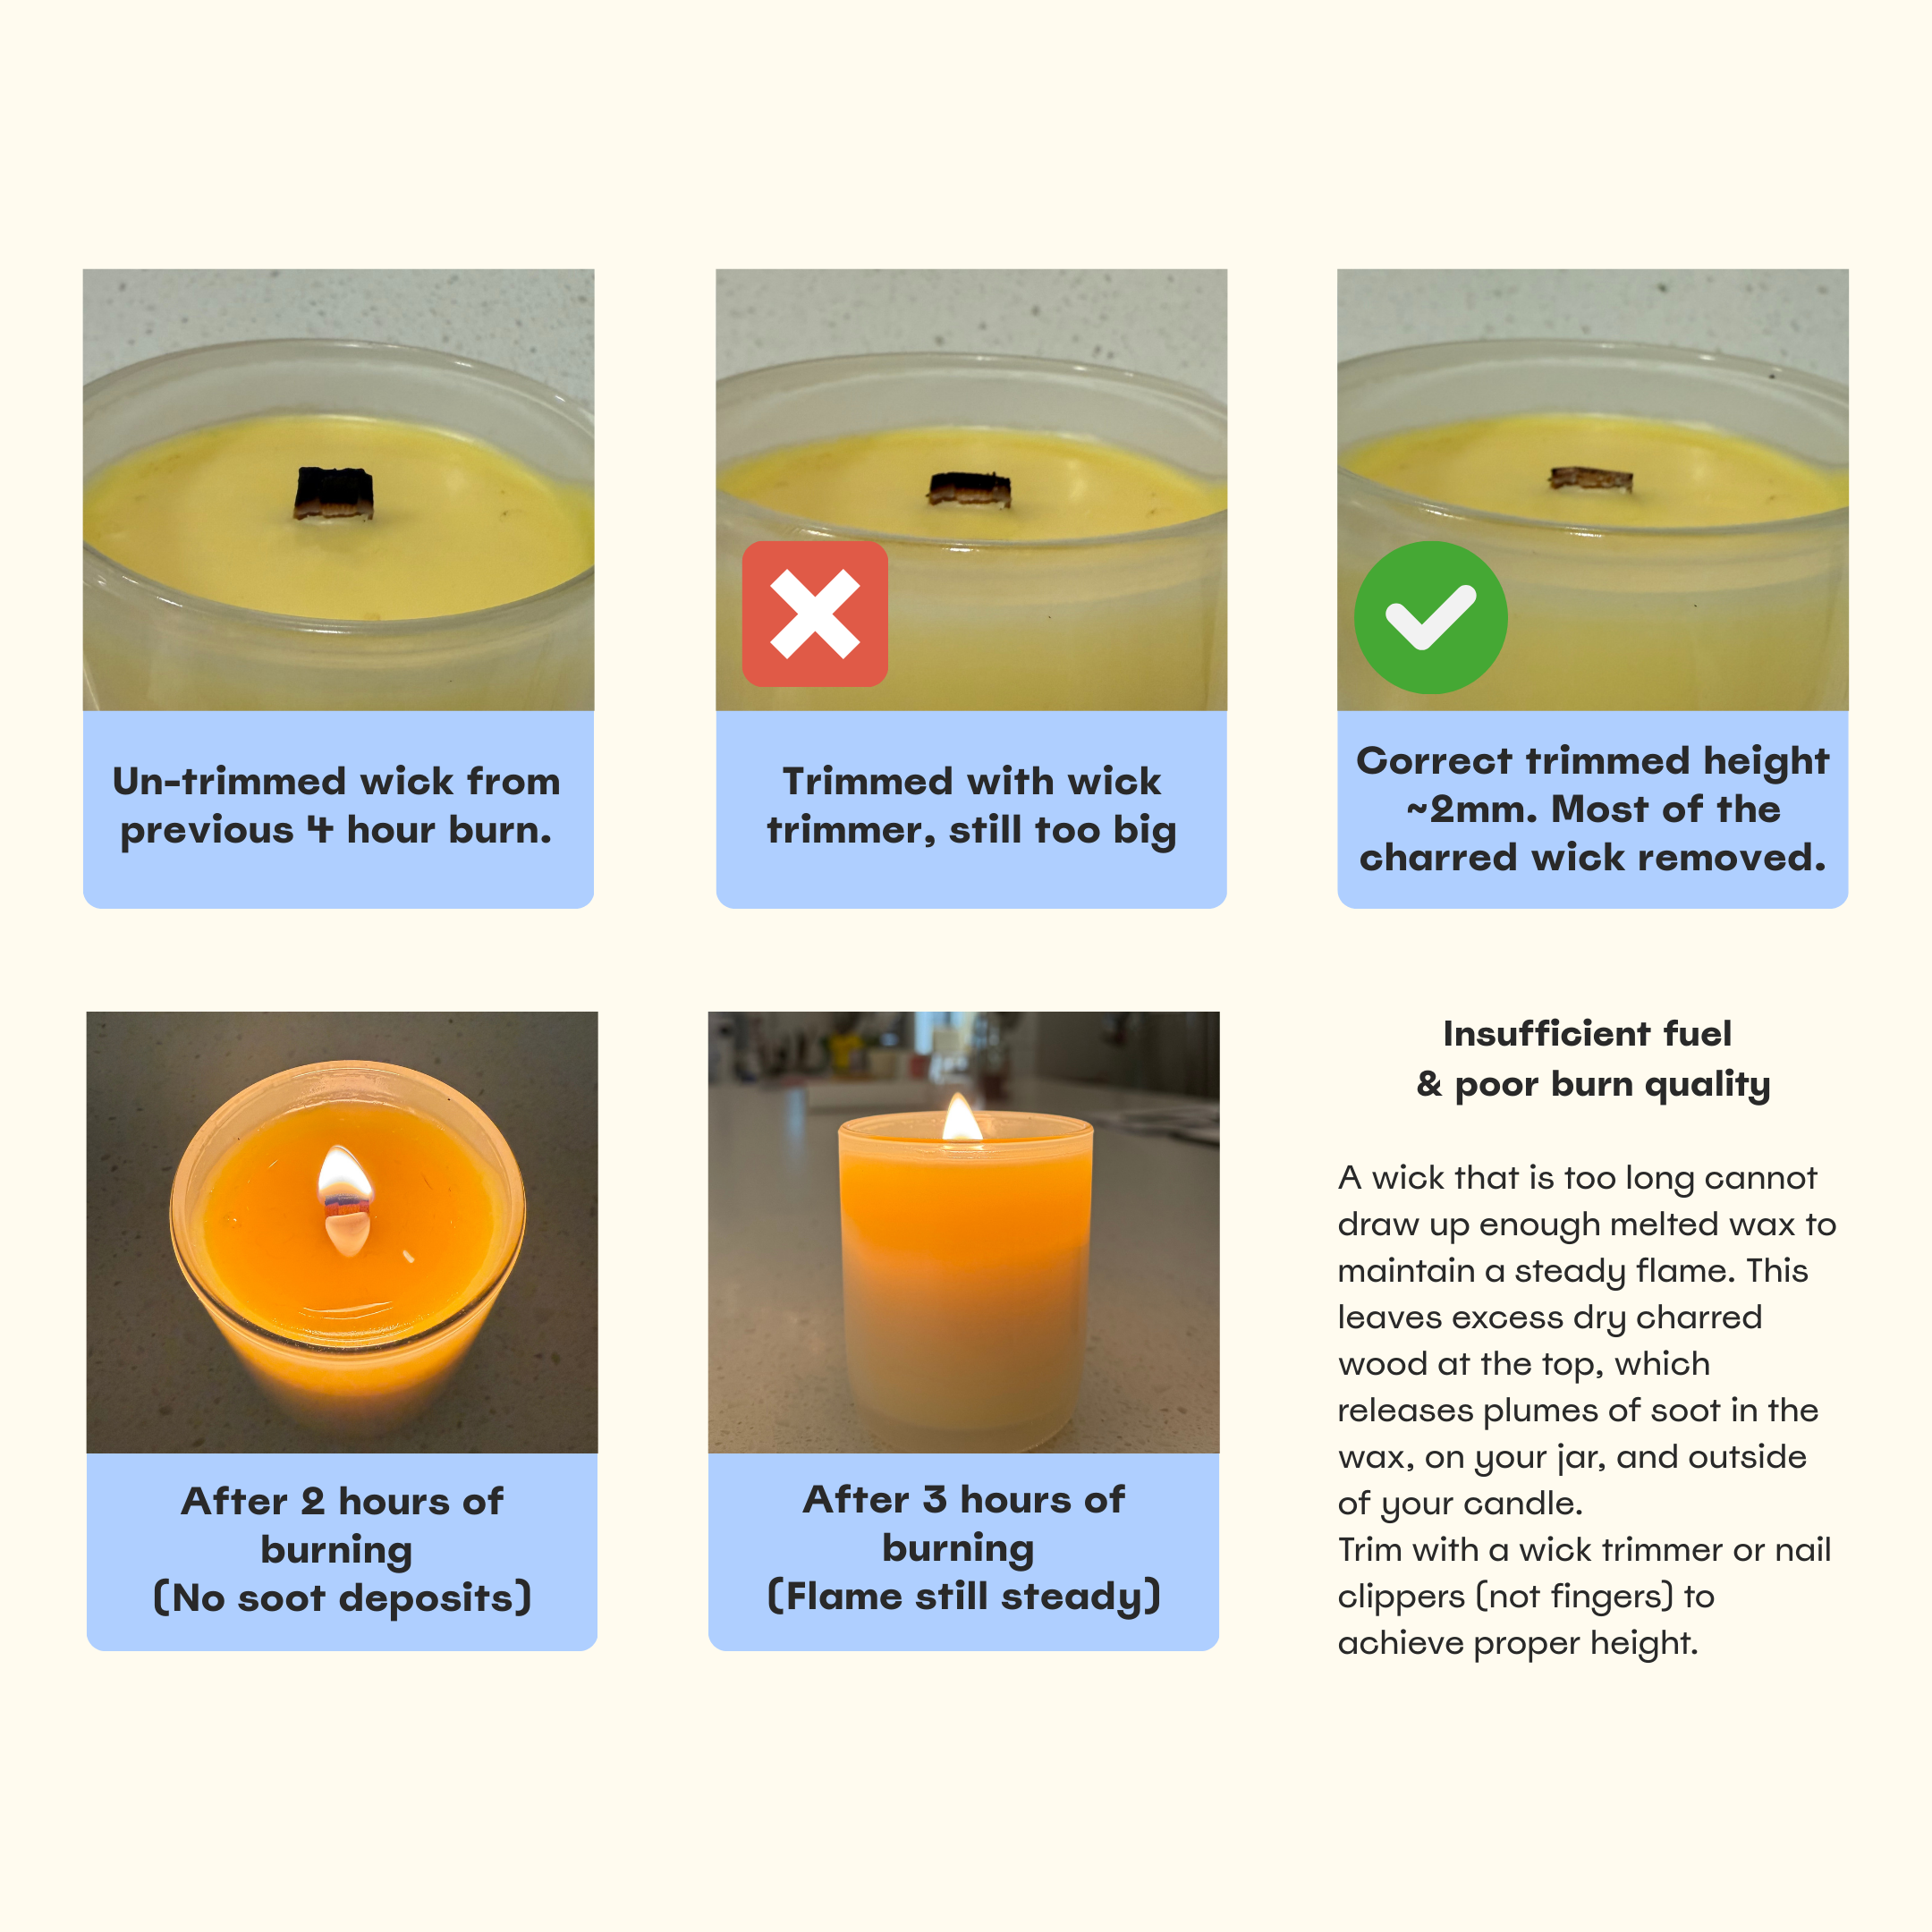
If the wick is too long:
- The candle may burn too quickly
- Burnt wood can fall into the wax and create soot
- The flame may become too large, creating a potential fire hazard
For cotton wicks, trimming is just as important. If the wick starts to form a mushroom-shaped tip, it’s time for a trim.
Here are some images to visualize the proper height of the wick.
You might also like
Here’s a few more we think you might like: